
All the Basic Tools You Need to Get Started with Calligraphy
The basic principle of calligraphy, whether you’re looking to start with a traditional or modern style, is that the upstrokes should be thinner than the downstrokes. This effect can be effectively achieved in two main ways: by using a flexible nib or with a nib with a flat edge. Here are our suggestions for what you need to get started, no matter which style you’re hoping to do!
Calligraphy with Brush Markers
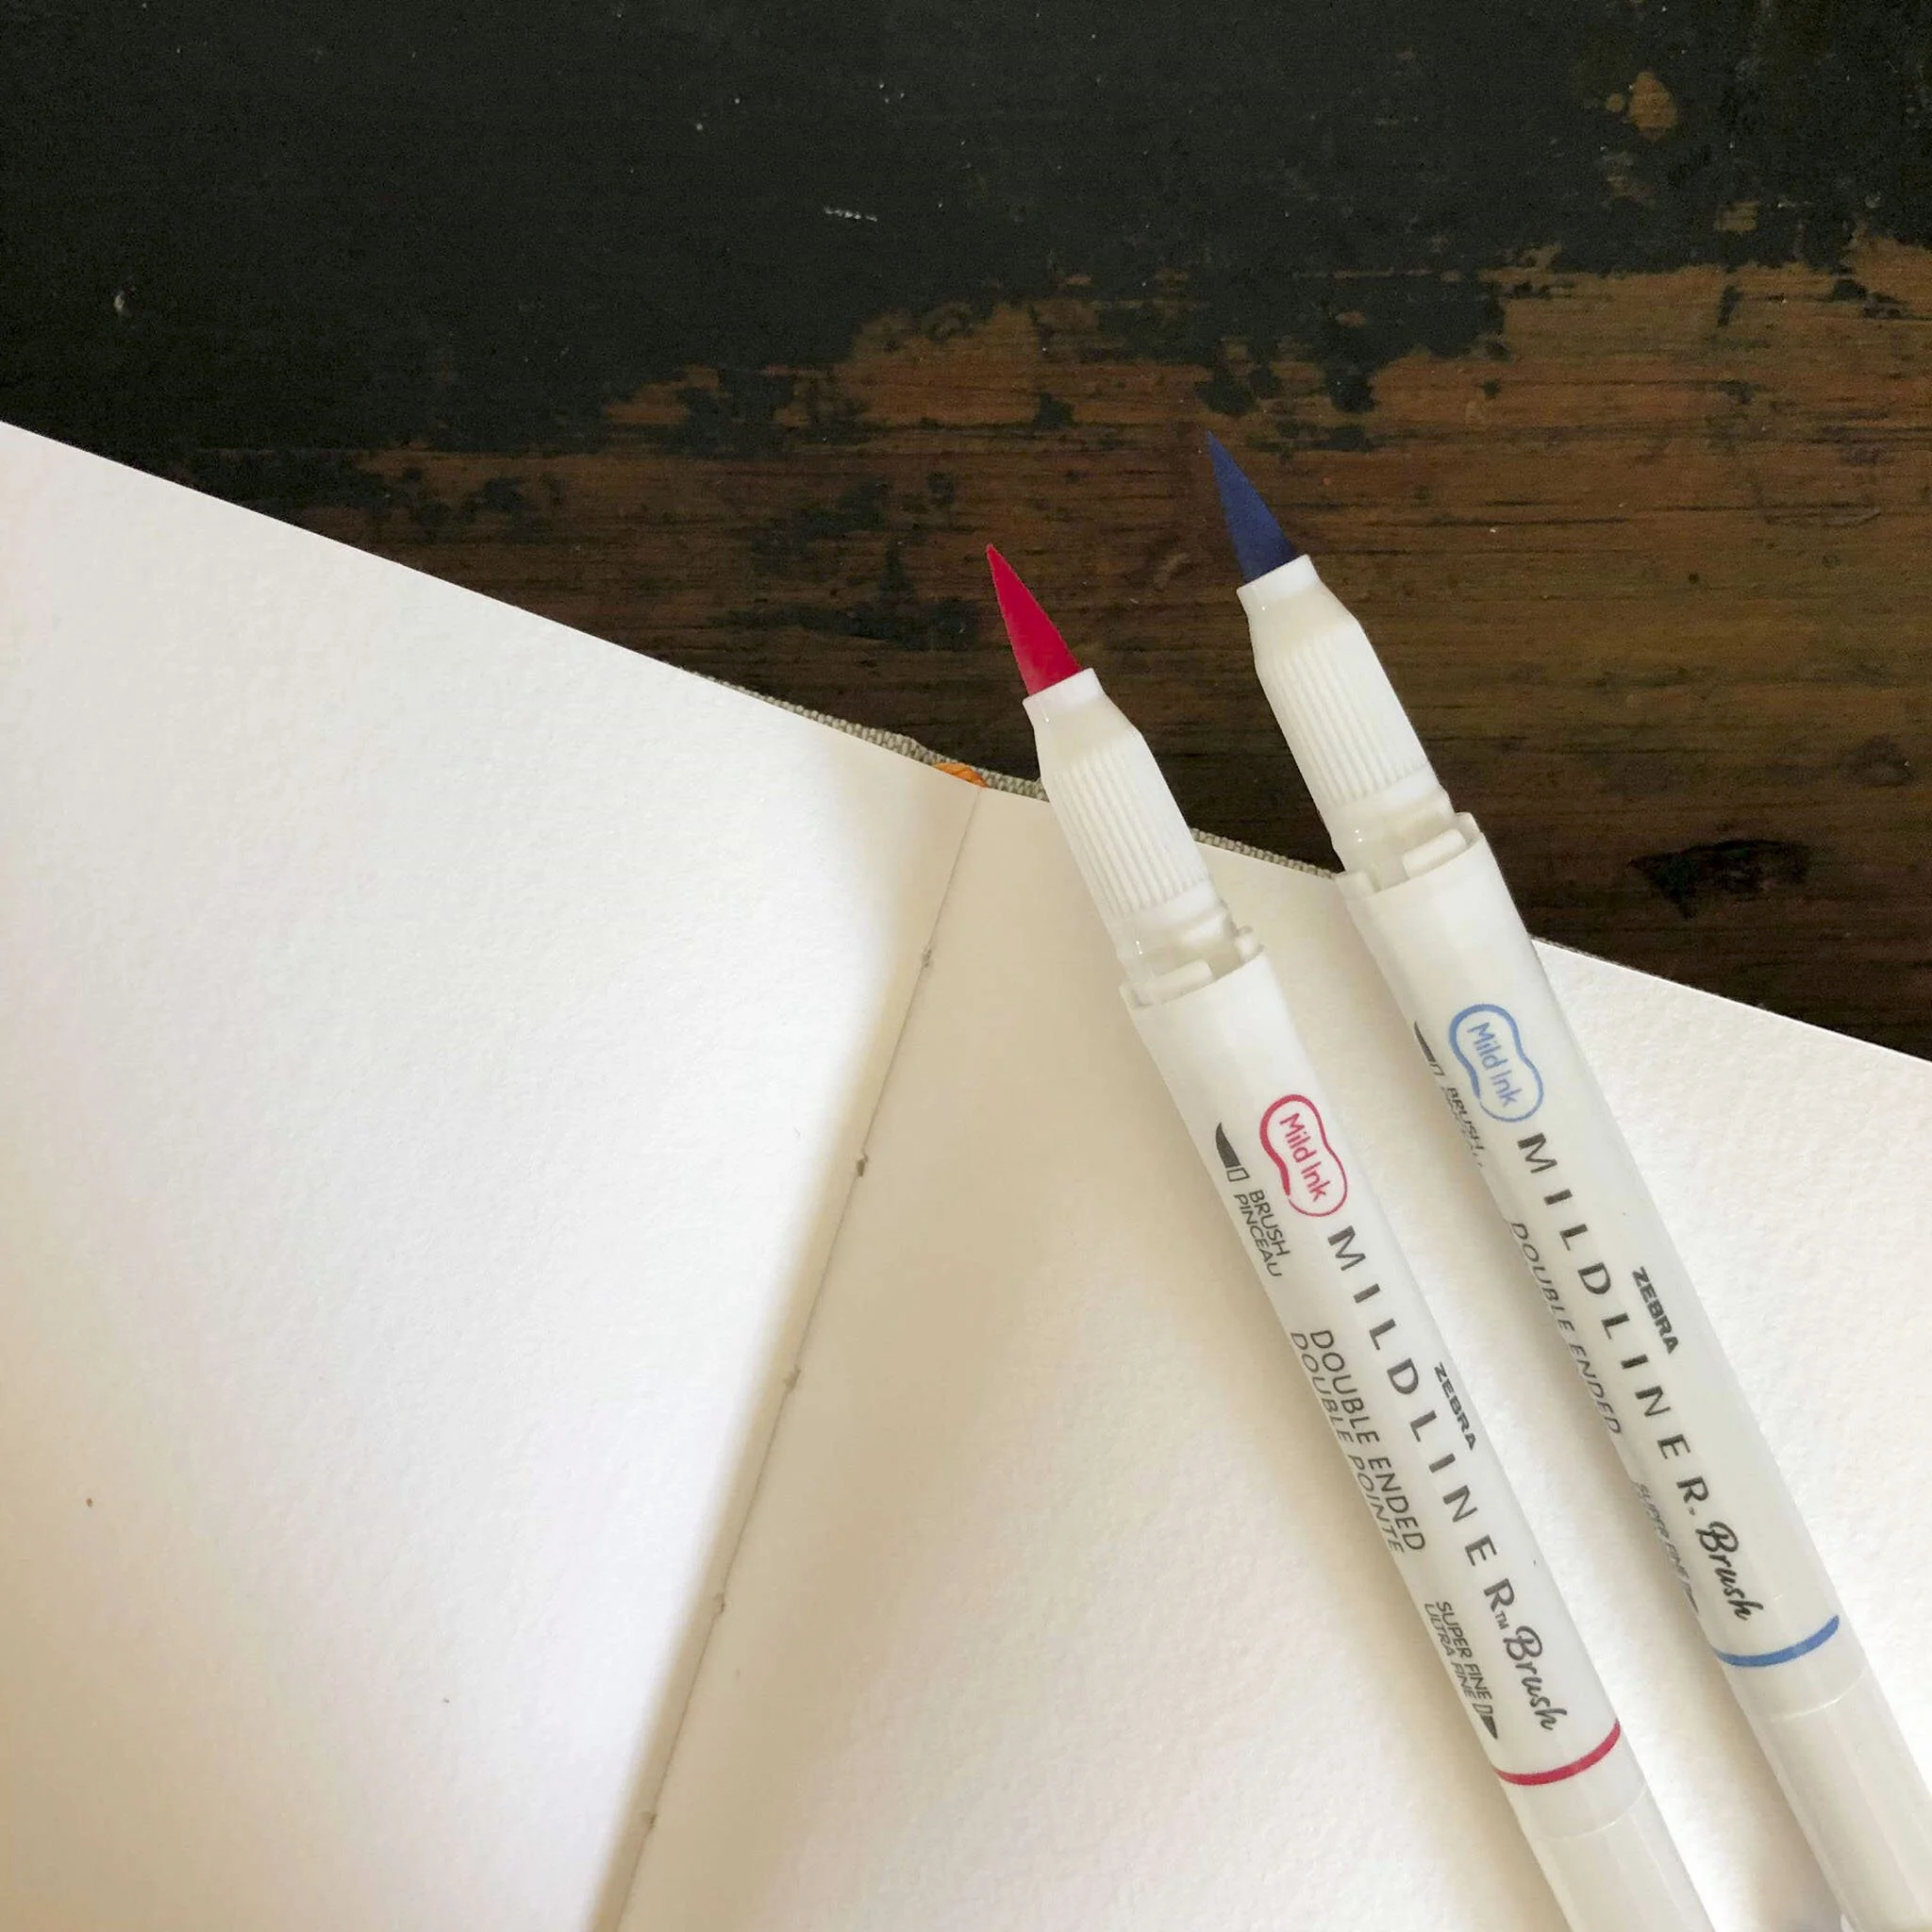
Tips that are able to spring back to their original form once you release your pressure on them make hand lettering with brush markers, like these two from Zebra, a lot of fun!
Calligraphy with brush markers is often referred to as modern calligraphy, and you’ve likely seen a lot of it if you follow the Bullet Journal community online. For beginners, this can be a great place to start because there are so many tutorials and reference guides you can find. For brush markers, the change in line width happens depending on how much pressure you put on the pen: the harder you press, the thicker the line. When you’re first starting out, it is best to go for a brush marker with a stiffer tip because it will “bounce back” easier than a springier tip, meaning that you need less control in your hands.
Pastel colours are a favourite for calligraphy using brush markers, and the new brush-tip Zebra mildliners are a great place to start. They have the same muted colours you may know from the regular mildliner collection, but with the brush tip! If you’re looking for something a little more saturated, the metallic brush pen set is another great option. These markers write particularly well on dark paper, which is another commonly sought-after quality for brush pen calligraphy.
The brush markers from Faber Castell are also artist quality at an affordable price for a beginner. These markers also come in different packs, like shades of blue and colours inspired by Shônen manga. Some of the packs even include calligraphy markers in addition to brush pens, so you can try more than one variety of calligraphy without committing entirely to one or the other before you know what you like best.
Calligraphy with disposable calligraphy pens

Calligraphy markers, like these ones from Faber Castell, are a great option to take your leaning with you wherever you go.
Disposable calligraphy pens are another on-the-go option you can try to begin your calligraphy journey. Similar to brush markers, everything you need to write things down is included with the pen, and they come in lots of fun colours. The biggest difference between brush markers and calligraphy markers are the style of the tips. Where brush pens are springy (so you can control the line variation with pressure), calligraphy markers have a hard end and you control the line variation by holding the pen at a specific angle.
The pitt artist pens from Faber Castell come in a four pack or an eight pack, and all of the markers in these sets have this style of tip. Though different fonts require different angles, holding this pen at a 45 degree angle should help you get the hang of thin upstrokes and thick downstrokes without putting any pressure at all. The fun colours will help prevent practice fatigue—because writing down an “h” in the same shade twenty times in a row could get boring after a while. Who knew?
There is another style of marker that you might be used to that also has a chiseled tip: highlighters! For this reason, most highlighters can be used as calligraphy markers as well. Though you could use virtually any highlighter you already have on your desk, it is probably a good idea to have one or two (or more!) reserved just for your calligraphy practice so you don’t fray the ends in angles that will create little straggly lines on your new masterpiece.
As we’ve mentioned, Zebra mildliners are a cult favourite for a reason, and we definitely recommend using those for a beginner. Faber Castell also makes beautiful pastel highlighters, and their nib sizes are a perfect 0.5, which makes them the absolute perfect size to fill a whole square in one swipe from a standard dot grid notebook or the 5x5 Rhodia pads.
Calligraphy with Dip Pens

Pictured here are the solid-coloured nib holder and the ever-popular Blue Pumpkin nibs from Brause, which are perfect for flexy calligraphy.
If you’re looking to feel a bit more traditional as you begin your journey into calligraphy, dip pens might be right for you. These pens are exactly what they sound like: you slip your favourite nib into its holder and dip it into an ink bottle (or reservoir, if you prefer!), and then you start to write! There are lots of different nibs that you can use for different effects when you’re using a dip pen, and the amount of letters or words you can write in a single dip will vary depending on the nib size and shape that you use.
The nibs that we sell all fit into the standard sized holders. The holders come in marbled colours, solid colours, or the classic straight black. All of these will have a similar writing experience for you, so we recommend just choosing a colour that speaks to you. If you’re looking for something a little different, the same nibs also fit into an oblique nib holder, making your writing offset from where you would with a straight holder.
There are a few things to remember when you’re getting a new dip pen nib. Unlike fountain pen nibs, dip pen nibs are not designed to be submerged in ink for extended periods of time, so they will rust with use over time. That certainly doesn’t mean that you’ll have to replace them all the time, and they can last months or years with the proper care, but it might also be a good idea to have an extra on hand if you’re going off the grid for a while. Luckily, they are very affordable to replace! The nibs also come with a special seal that prevents them from rusting before you can actually use them, but that also prevents the ink from pooling in a way that you need it to for your calligraphy. This is easier to remove than you think! You can (safely) burn it off using a tea light or you could use some Windex to polish it off. Then you’ll be good to go!

You can use fountain pen inks with your dip pen, opening up a world of possibilities for colours and effects! Pictured here are a variety of inks you can find on our website, including Diamine Shimmertastic in Golden Sands, a yellow ink with wonderful gold shimmer.
For a flexing experience on a dip pen, the Brause “blue pumpkin” nib can’t be beat. Like brush markers, this nib will flex in different ways depending on how much pressure you put on it. This nib can give you hairline thin upstrokes and wildly wide downstrokes! If you’d prefer copperplate, or a chiseled nib, Bause also has those in 2.0 mm and 3.0 mm sizes, among others. The beauty of a dip pen is that you don’t really have to choose. They’re so easy to swap that you can try them all if you want to! If you really want to try your hand at a bunch of different styles, you can also get packs of different nibs so you know you’re covering your bases.
Choosing the right ink is important for the perfect results for your calligraphy journey with a dip pen. A dip pen specific ink is an excellent option for opaque, vibrant colours, and that is especially important if you want to be writing on dark paper. One of our favourites is the copper pigment ink from J. Herbin. Just be very careful to never put this type of ink into your fountain pens: it’ll ruin your pen because it is so much thicker than a fountain pen feed can handle.
Though you can’t use calligraphy ink with fountain pens, you can certainly use fountain pen ink with your dip pens! Choosing an ink with special properties is a fun way to really make your calligraphy shine, so choosing a sheening or shimmering ink is a good option. J Herbin Émeraude de Chivor has both of these qualities, and so do many of the Diamine shimmertastic inks. Be sure to pick the colour that’s right for you and you’ll love looking at!
Calligraphy with Fountain Pens
There are some fountain pens that are specially designed to provide line variation and help you start your calligraphy journey. Though you could certainly get a specially designed flex-nib fountain pen, many of them are a little out of the price range for a beginner or require a lot of trial and error to get them to write right. What we’d recommend if you’re starting calligraphy with a fountain pen is a stub nib, which is a special type of nib with a flat end.
A bonus of using fountain pens is that they are completely reusable. Like all fountain pens, you can use them with disposable cartridges pre-filled with ink or you can get a converter for them so you can use ink from a bottle. Just be sure that you’re using ink designed specifically for fountain pens, not dip pen ink! With the proper care, fountain pens can last for generations, and you often will never have to replace their parts unless something dramatic happens to them, like falling out of a pocket nib first!

The Lamy joy is an excellent option for these purposes and comes in 1.1, 1.5, and 1.9 mm options, or you can get a pack with all three sizes. It is very similar to a Lamy safari, as it has a similar triangular grip section and the nibs are interchangeable between the two, but has a longer body for a sleeker look. It also uses Lamy’s branded cartridges or converters, so this is an especially great starting point if you are already familiar with the brand! For the most line variation while you get started, we recommend choosing the 1.5 or 1.9 mm options.
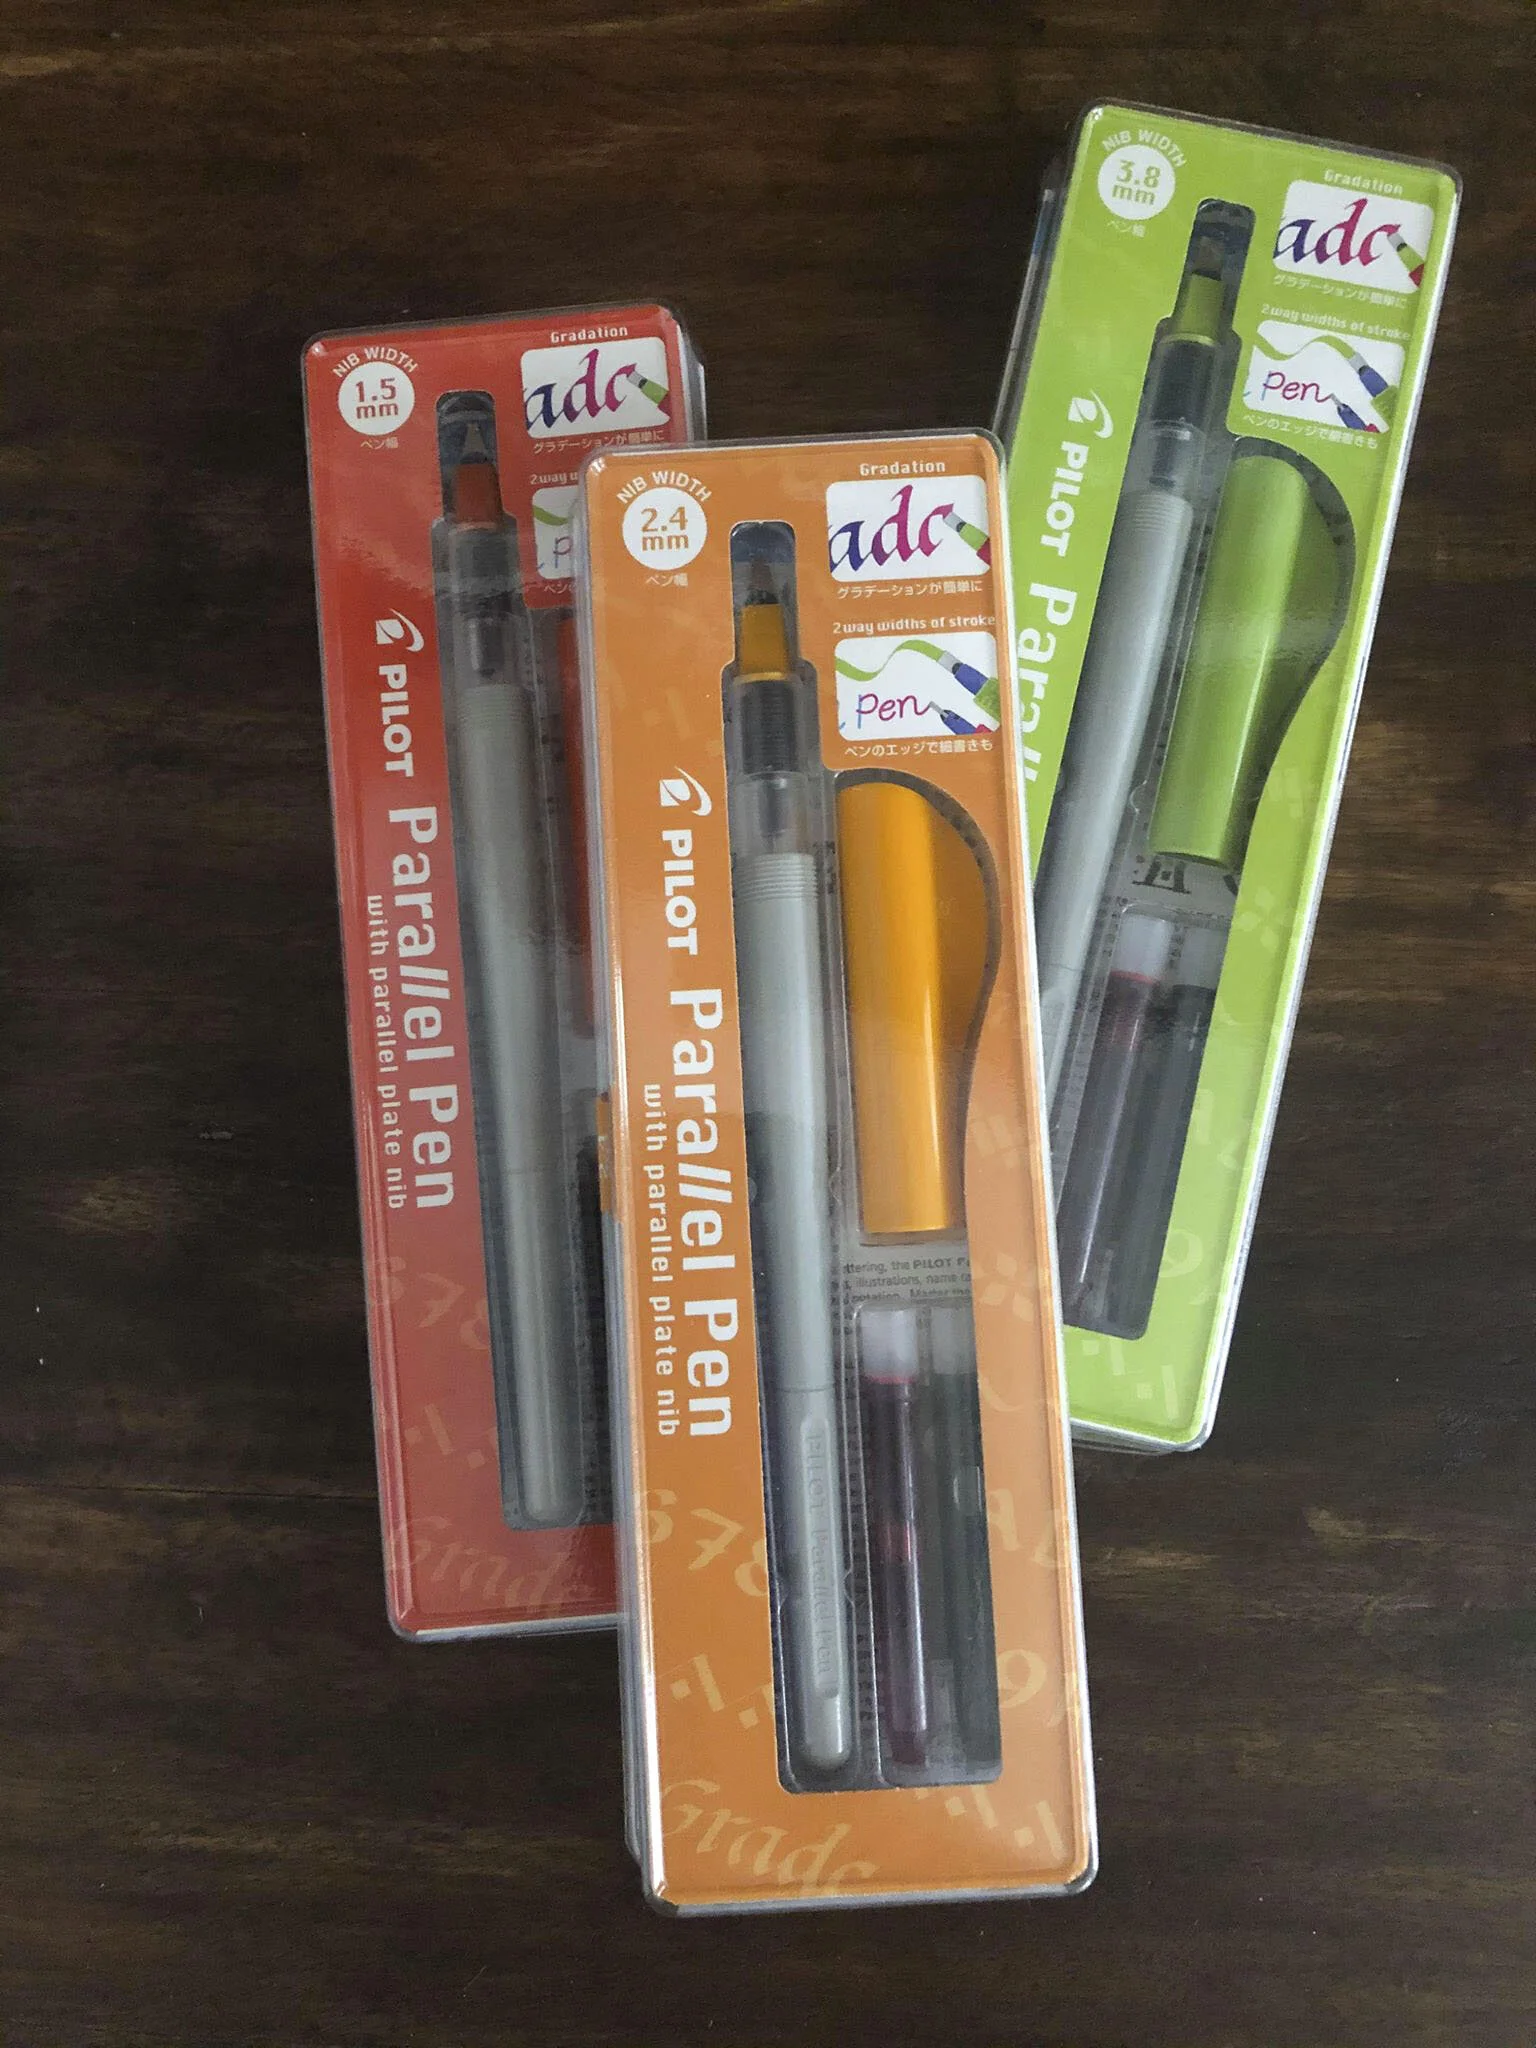
A unique option, and one that we often use for our classes in the store, is the Pilot parallel pen. The parallel gets its name from the two parallel blades on the nib, allowing ink to flow in between them. You can also use the tip of these blades to write super thin lines! The Parallel comes in 1.5, 2.4, 3.8, and 6.0 mm options and takes Pilot branded converters or cartridges. To start off, it is probably best to get the 1.5 or 2.4mm size, as you will go through less ink as you’re starting out and you’ll have greater control over the lines, and you’ll use less paper when you’re writing smaller. This is one of the greatest choices if you want to take your pen on the go but also want the inky experience.
Best paper for calligraphy beginners
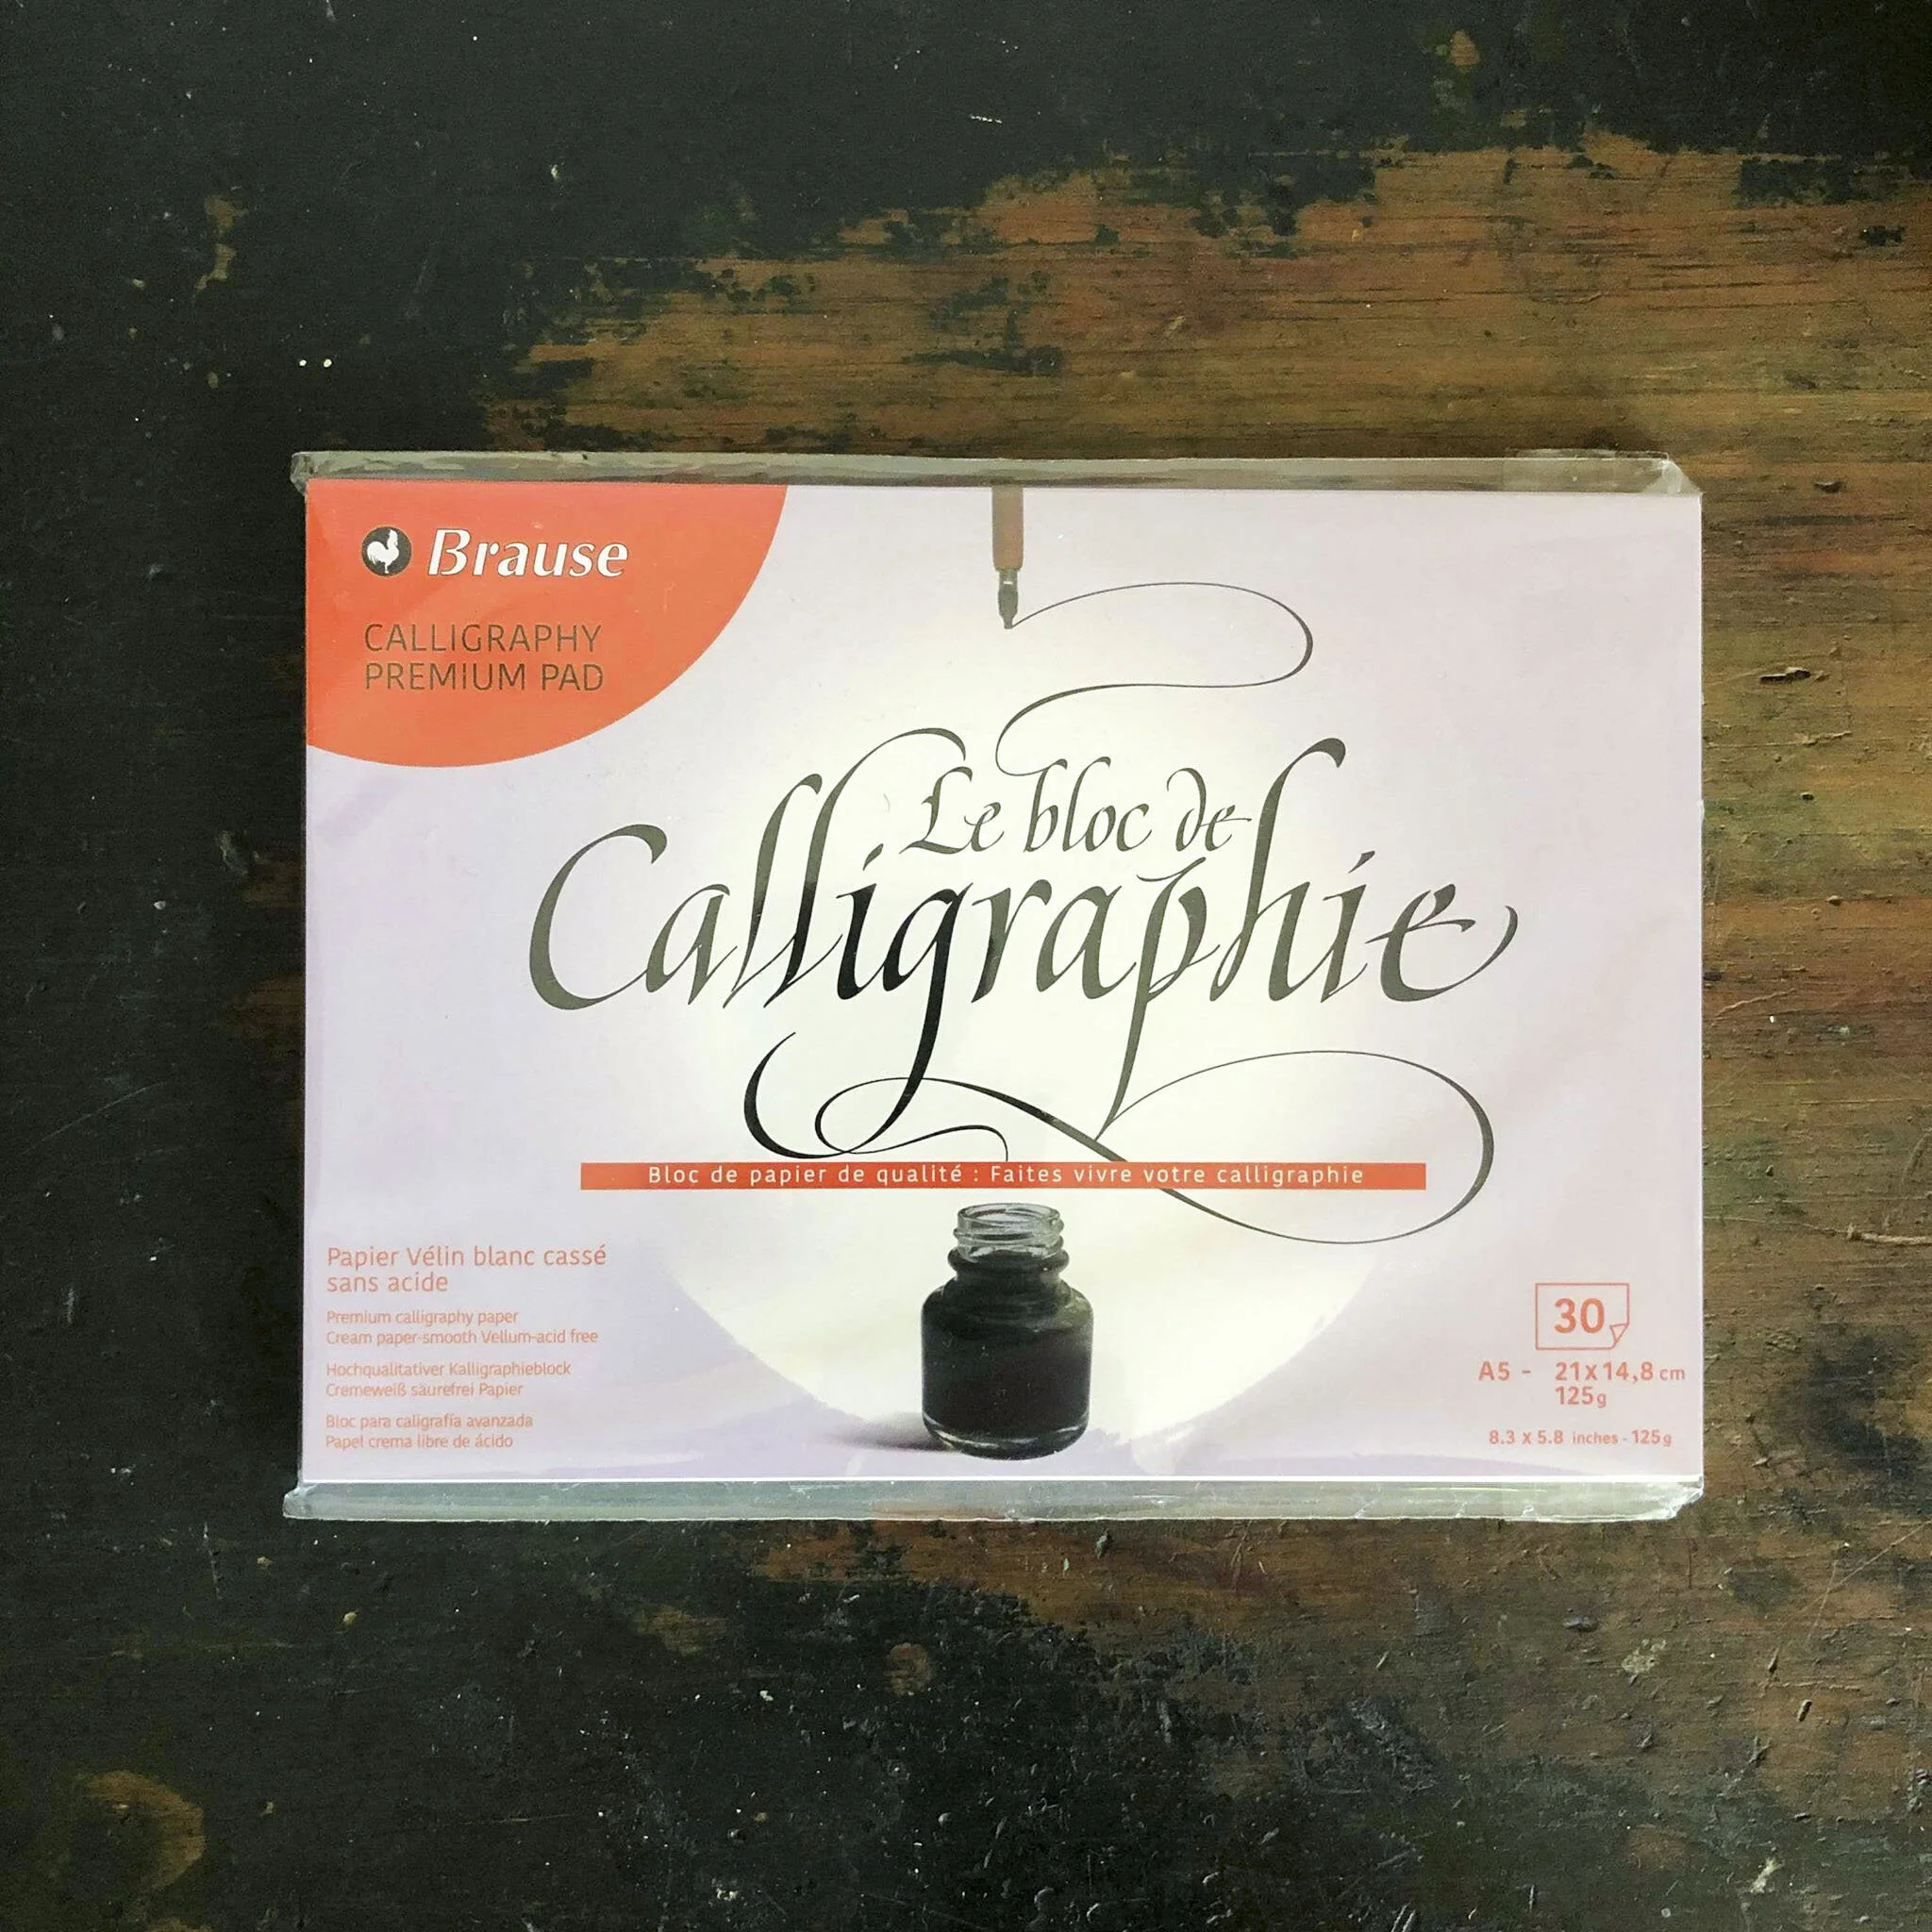
There are some papers out there that are specifically designed for you to learn calligraphy. The Brause introduction to calligraphy guide is a great option that will help you walk through nine different fonts! Having a guide with you, designed by professionals, is one of the least intimidating ways to get started. Paired with a Brause practice pad, it should be all that you need to get started in your new art form.

In order to get the hang of the strokes, spacing, and angles that you need to master for calligraphy, it’s best to have lots of lines! French ruled paper, also referred to as Séyès ruling, is a unique style of grid that allows you to place every letter perfectly within its own line. This is great when you’re first starting out because it will help keep your upstrokes and downstrokes even. This style of paper, such as the notebooks from ClaireFontaine, is especially useful if you’re using fountain pen or a stiff-tipped brush pen for the best control you can have.
If you’re hoping to make bigger letters, perhaps using a springier tip on a brush marker or one of the wider nib sizes on the Pilot parallel, a regular grid notebook can have a similar effect. In most of our calligraphy classes at Phidon, we have students use the A4 size Rhodia grid pads. If you want something more portable you could always go for a smaller size, like an A5. If you really hate looking at lines but still want some guidance, Rhodia also makes a variety of dot grid pads! Another bonus of using a paper pad is that many have perforated pages, so if you make a particularly perfect “P” you can cleanly rip that page out and stick it on your fridge.
If you’re planning to achieve some of the fun effects that are possible with brush markers, we recommend using watercolour paper, such as the watercolour journals from Hand Book Journal Co. One of the unique qualities of brush markers is that many are blendable, meaning that you can seamlessly blend colours together with the right tools, but only if you have paper strong enough to take it! Watercolour paper is strong enough to handle any kind of blending or wet media, and it is particularly useful if you are using water soluble tools for details and backgrounds, such as the Faber Castell watercolour markers and pencils or the Caran D’Ache supracolor soft aquarelle pencils. To make those effects possible, also be sure to pick up a water brush!
Additional Tools for calligraphy beginners
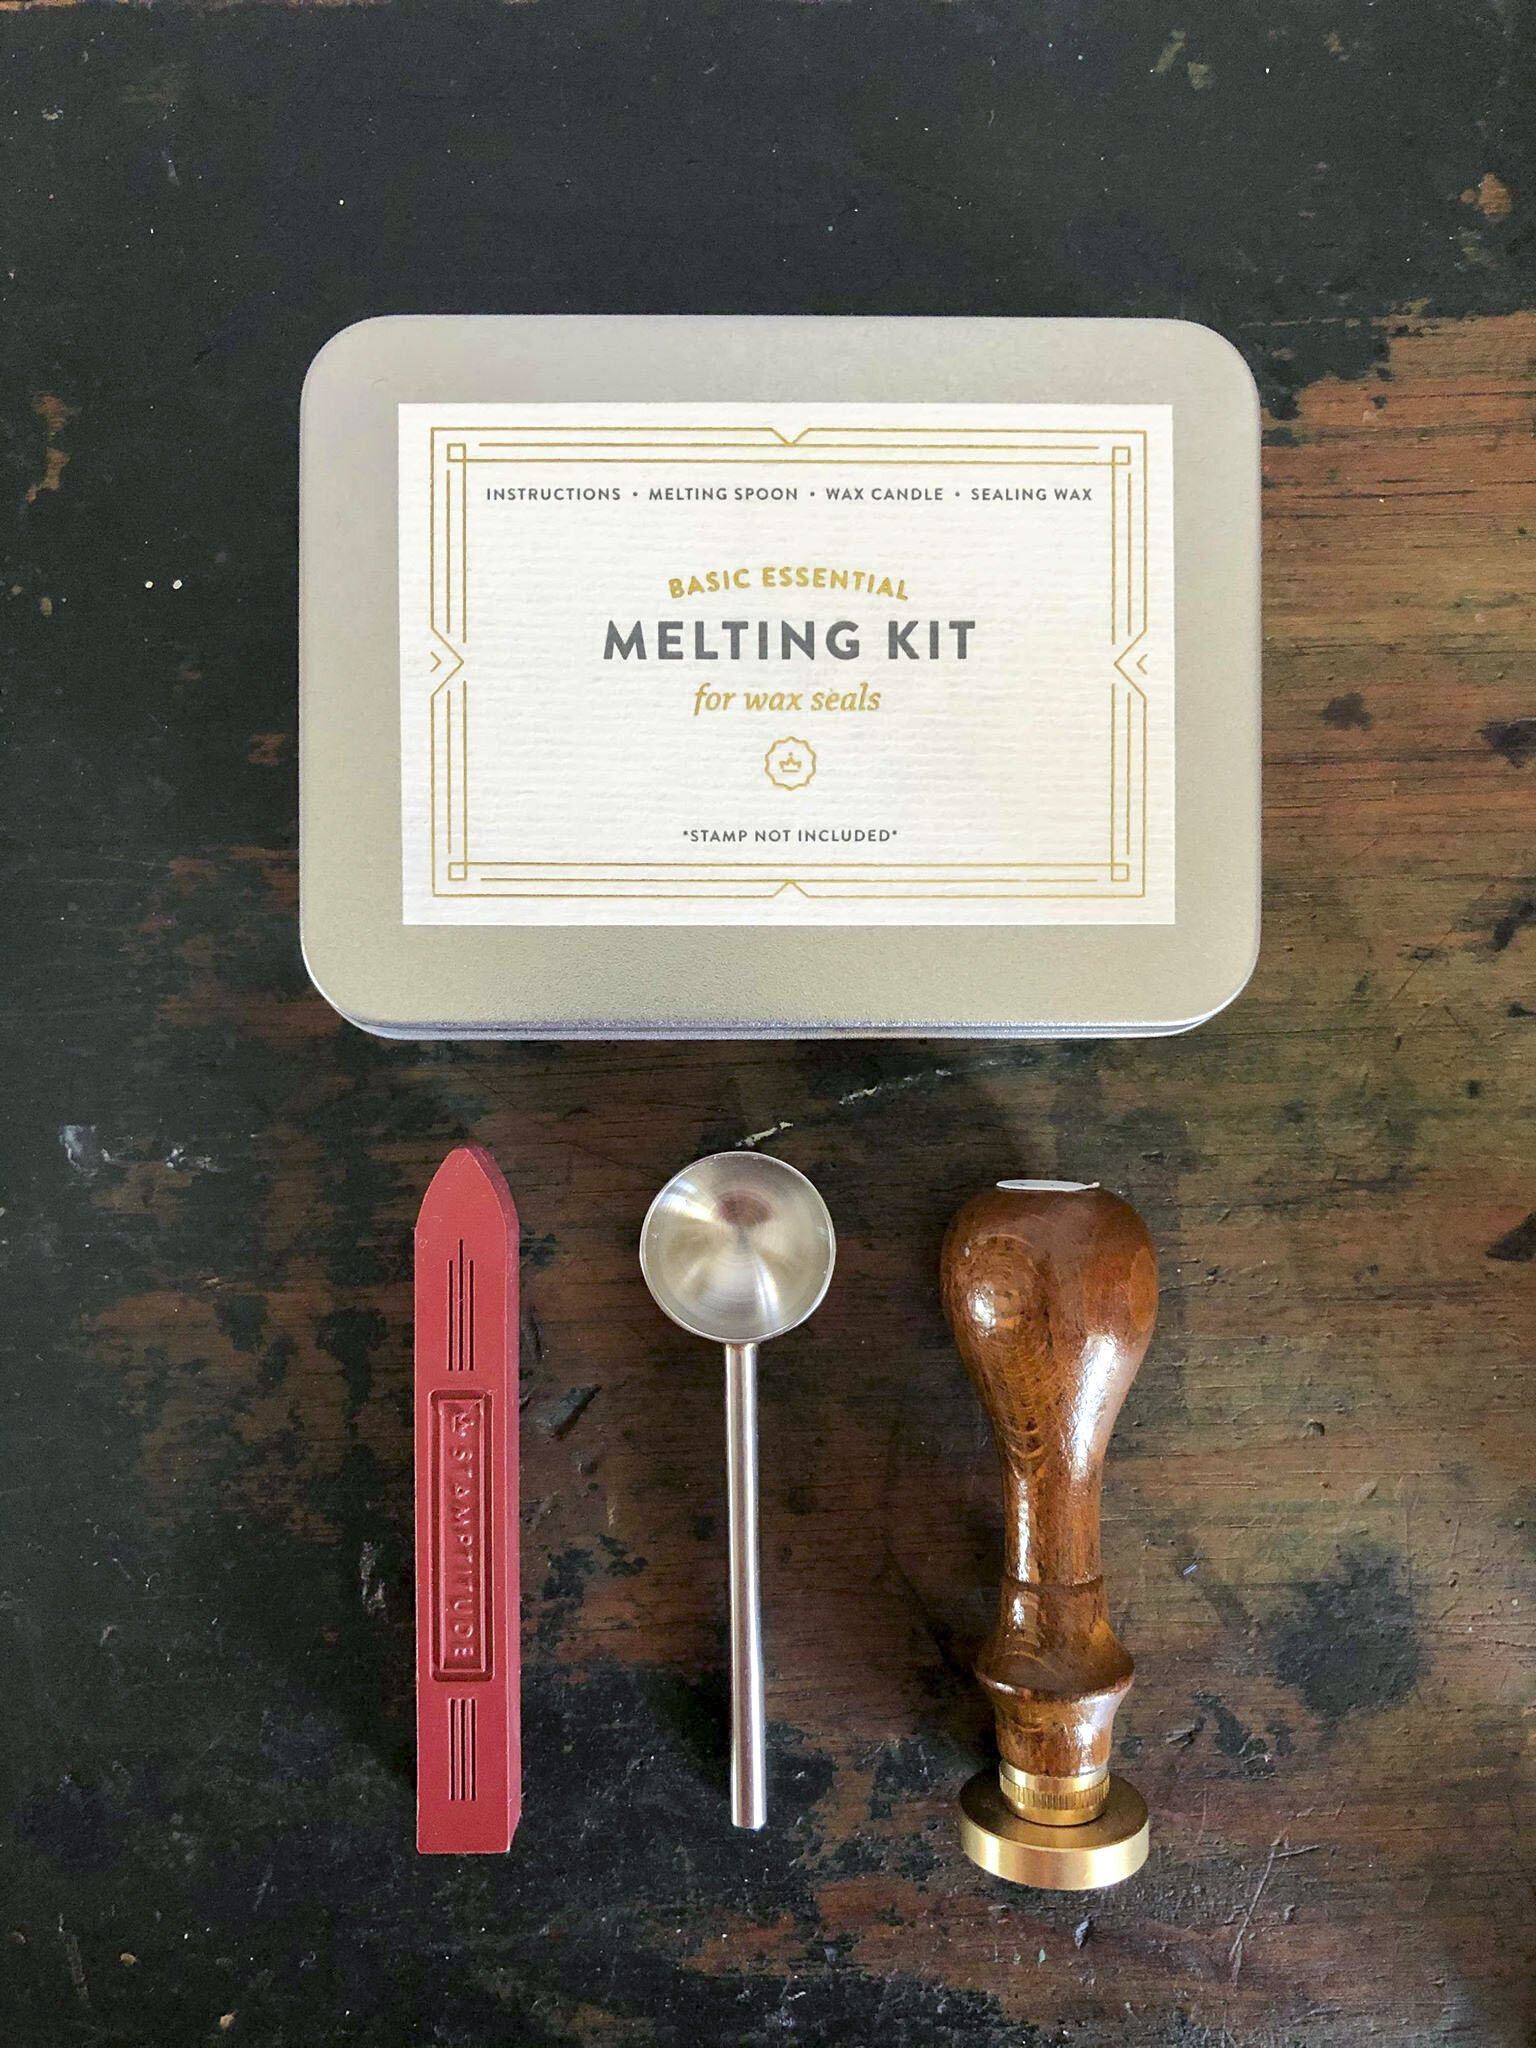
A wax seal, like the ones from Stamptitude, is another way to add personality to your calligraphy.
Many people often associate calligraphy with times-gone-by and feel antique while they write. A wax seal, like our favourites from Stamptitude, provide a similar experience and can really tie the aesthetic of your calligraphy together. If you’re using brush markers for modern calligraphy, a fun floral stamp could match well. If you’re getting started with a more traditional font, perhaps consider one of the classic stamps from the heirloom series to match. No matter what you choose, the wax melting set, along with your favourite stamp, will be everything you need to get started. And, of course, Stamptitude also has a collection with calligraphy phrases to give all those letters you’re bound to write a calligraphy flair even before they’re cracked open.
Drawing letters out in pencil is often a good way to get used to the way the letters are written without also thinking about angles and pressures at the same time. One of our favourite ways about practicing this way? Mistakes are erasable! Our favourites include the Appointed gum eraser, which looks as good as it feels to use, and the Faber Castell mini eraser with cover sleeve, which is dirt resistant.
Though our store is still closed for the health and safety of our staff and customers, we do also offer a variety of calligraphy classes if you’re interested in having a teacher help you out as well as building a community of calligraphy lovers. Keep an eye on our Facebook, Instagram, and Twitter for when our class schedule will be running regularly again.
What type of calligraphy are you most excited to try? If you’re a seasoned calligrapher, what advice do you have for someone just starting out? Let us know in the comments!